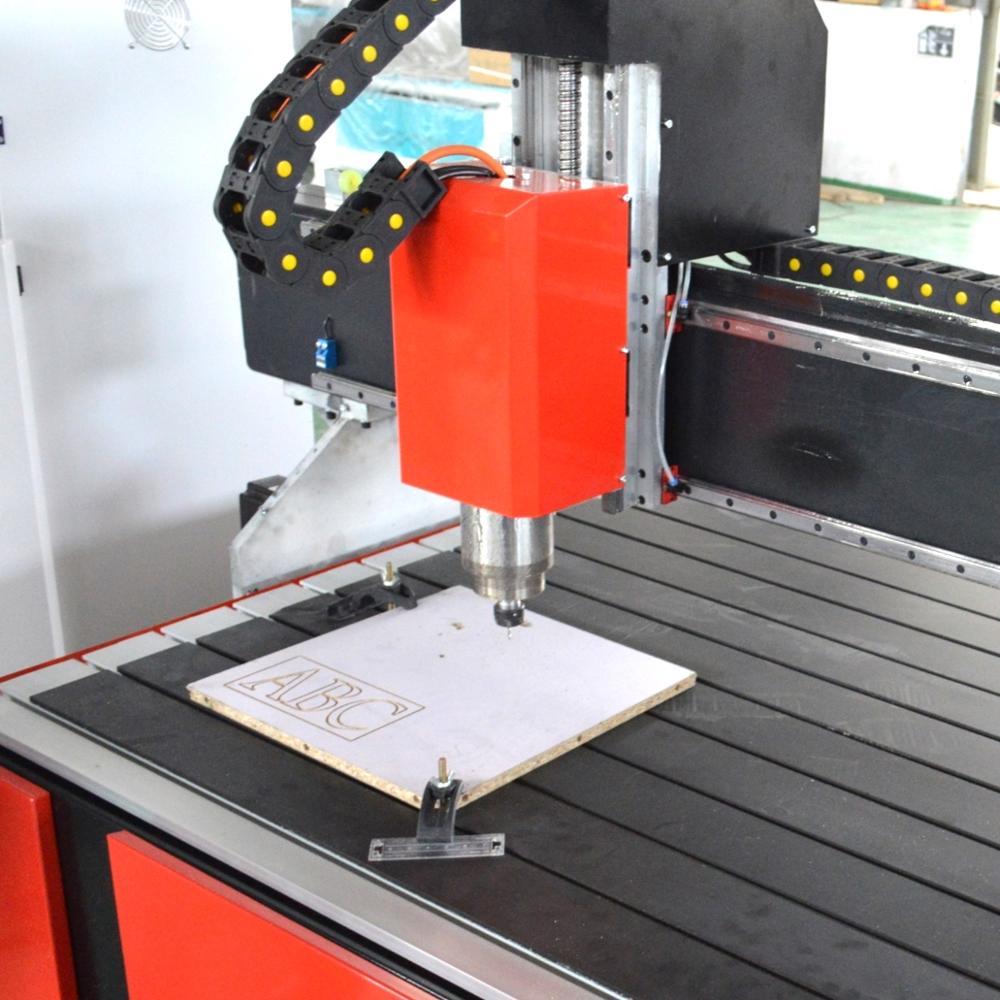
1. The CNC engraving machine removes the front and rear covers, front and rear nuts。
2. Push the main shaft and rear bearing seat, linear bearing, etc. from the front end of the shaft
3. Grinding front and rear bearing washers
①,The front and rear bearings of the electric spindle are paired in series DT
② Support the inner sleeve according to the axial force direction of the bearing, and press down the outer sleeve with the engraving and milling machine design force by hand (the force is roughly the same as the spring preload on the bearing), adjust the gap of the washer There are two methods, one is to replace the bearing and the up and down position of the bearing, and the other is the height of the grinding washer. The grinding washer uses a figure eight grinding method, while rotating the position of the washer to ensure that the parallel difference of the washer is within 2um Adjust so that the inner and outer washers are evenly stressed, so that the preload of the two sets of bearings is even.
③ If the bearing has been equipped, the size difference between the inner and outer washers should be within 2um, and the parallel difference between the washers should be within 2um.
④ Long-term use of preload spring will produce fatigue and reduce spring force; the preload on the bearing is reduced, which affects the accuracy and life of the design of electric spindle engraving machine. At this time, a new spring of the same specification should be replaced.
⑤ If the gasket is not suitable for the research, the two sets of bearings have a small load and the other set is too large. The bearing is unevenly stressed and will generate heat, which will seriously affect the service life. When the inner and outer gaskets have the same force, the two sets The preload load on the bearing is even.
4. Wash the bearing, the outer casing slopes down (or the inner sleeve slopes up) to rotate and clean (in clean gasoline), the bearing should be cleaned more than twice, pay attention to cleaning the bearing, the bearing up and down position cannot be misplaced.
5. Before installing the bearing, the bearing, the inner hole of the shaft shell, and the spindle are lubricated with engine oil (special lubricating oil for the electric spindle). One is to facilitate installation, and the other is to ensure the lubrication of the bearings at the initial stage of the electric spindle startup.
6. Wash the other parts on the shaft, the bearings should be dried naturally after cleaning, and it is strictly prohibited to blow dry with high-pressure gas
7. Install the rear-end bearing first, the nut is tightened, the spring is fixed on the bearing seat with butter, and the spring gland cannot be misplaced.
8. Assemble the front-end bearing and fix the front-end cover pre-loaded bearing jacket, (the assembled bearing should use a special sleeve, the sleeve is processed with nylon rods, the shape is as follows: D is less than the outer diameter of the bearing, d is greater than the inner diameter of the bearing)
9. Tighten the front nut, install the front and rear end caps, and pay attention to the position of the air inlet hole when installing the rear end cap. The seal rings of the air inlet hole, water inlet hole, and water outlet hole should be intact and placed correctly.
10. After the front and rear bearings are installed, push the main shaft forward from the rear end of the electric main shaft, and the linear bearing at the same time.
11. After the electro-spindle is installed, check whether the spindle is installed in place (use a wrench to push the spindle forward, the spindle will move forward, and the handle will rebound immediately.

Post time:May-28-2020
